

Table of Contents
- What You Need to Brew Perfect Pour Over Coffee
- Best Coffee Grind Size for Pour Over: Consistency Is Everything
- Coffee-to-Water Ratio and Water Temperature Requirements
- How to Bloom Coffee: The Step Most Brewers Rush
- Step-by-Step: How to Brew Perfect Pour Over Coffee
- Pour Over Coffee Brewing Time: What Draw-Down Tells You
- Troubleshooting Your Cup: Fixing Bitterness, Acidity, and Weak Body
- Equipment Maintenance and Cleaning for Consistent Results
Last Updated: June 12, 2026
Pour over coffee rewards precision. Knowing how to brew perfect pour over coffee separates a flat, forgettable cup from one that genuinely expresses the character of the bean. This guide from Cuppari Coffee covers every variable that matters: grind size, water chemistry, bloom technique, and the pouring methods that most tutorials skip entirely.
Pour over has more adjustable variables than almost any other manual brew technique. Master those variables and you control the extraction. Miss them and you're guessing.
The Specialty Coffee Association recommends a brew temperature between 195-205 degrees Fahrenheit and a coffee-to-water ratio of approximately 1:16 for filter coffee, according to the Specialty Coffee Association's brewing standards. That's a useful baseline, but just the starting point.
What You Need to Brew Perfect Pour Over Coffee
Getting the equipment right is the foundation. You don't need expensive gear, but you do need the right gear.
Choosing the Best Pour Over Coffee Drippers
The best pour over coffee drippers fall into three categories: flat-bottom, cone-shaped, and wave/basket designs. Each produces a meaningfully different cup.
Flat-bottom drippers like the Kalita Wave create even saturation across the coffee bed, producing a balanced, forgiving extraction. Cone-shaped drippers like the Hario V60 concentrate flow through a single center hole, giving you more control over draw-down time through pour speed. Wave designs combine a flat bed with a ridged filter that reduces contact between filter and dripper walls.
For beginners, a flat-bottom dripper is more forgiving. For brewers who want to experiment with agitation and flow rate, the V60 rewards the extra effort.
| Dripper Type | Best For | Extraction Profile | Difficulty |
|---|---|---|---|
| Kalita Wave | Beginners, consistency | Balanced, full body | Easy |
| Hario V60 | Control-focused brewers | Bright, clarity-forward | Intermediate |
| Chemex | Clarity and aesthetics | Clean, light body | Intermediate |
| Origami | Advanced experimentation | Variable | Advanced |
The Case for a Gooseneck Kettle and Burr Grinder
A gooseneck kettle is non-negotiable. The narrow spout gives you directional control over your pour, directly affecting agitation and even saturation. A standard wide-spout kettle makes it nearly impossible to pour slowly or accurately enough to hit the coffee bed consistently.
A burr grinder is equally critical. Blade grinders produce inconsistent particle sizes, some grounds over-extract (bitterness) while others under-extract (sourness) in the same brew. A burr grinder produces uniform particles that extract at the same rate. This is the single biggest equipment upgrade most home brewers can make.
A scale and timer round out the essential kit. Weighing both coffee and water takes 30 seconds and eliminates one of the most common sources of inconsistency.
Best Coffee Grind Size for Pour Over: Consistency Is Everything
The best coffee grind size for pour over is medium-fine, roughly the texture of table salt. This is the starting point, not the fixed answer.
Grind size controls surface area exposed to water, which directly controls extraction rate. The target is complete, even extraction within a 3-to-4-minute brew window. Grind size and brew time are inseparable: if draw-down runs long (over 4:30), your grind is too fine; if it runs short (under 2:30), it's too coarse. Adjust grind size before changing anything else.
Burr grinder consistency matters more than grinder price. A mid-range burr grinder producing uniform particles will outperform an expensive blade grinder every time.
Coffee-to-Water Ratio and Water Temperature Requirements
The standard coffee-to-water ratio for pour over is 1:15 to 1:17 by weight. A 1:16 ratio, 25 grams of coffee to 400 grams of water, is a reliable starting point for most medium roast beans. Lighter roasts often benefit from 1:15 to compensate for lower solubility; darker roasts can go to 1:17 without tasting thin.
Water temperature should sit between 195-205°F (90-96°C). Below 195°F, extraction is incomplete and the cup tastes sour or flat. Above 205°F, you risk scorching delicate compounds in lighter roasts. Without a temperature-controlled kettle, bring water to a full boil and rest 30-45 seconds before pouring.
Water Chemistry and Mineral Content: The Hidden Variable
Most pour over guides ignore water chemistry entirely. Water is not a neutral solvent, its mineral content directly affects extraction efficiency and flavor clarity. According to the Specialty Coffee Association's water quality standards, ideal brewing water contains a total dissolved solids (TDS) level between 75-250 ppm, targeting around 150 ppm.
Magnesium ions bind effectively to aromatic compounds, producing more expressive cups. Very soft water under-extracts and tastes flat; very hard water over-extracts and tastes harsh. If your tap water is heavily chlorinated or very hard, filtered or third-wave water products designed for coffee brewing will produce a noticeably cleaner cup.
How to Bloom Coffee: The Step Most Brewers Rush
Blooming pre-wets coffee grounds with a small amount of hot water, allowing carbon dioxide to degas before extraction begins. If you skip the bloom, escaping CO2 creates channeling in the coffee bed, disrupting even saturation and producing uneven extraction.
Pour approximately twice the weight of water relative to your coffee dose (for 25g coffee, pour 50g water) and wait 30-45 seconds. You'll see the bed swell and bubble as CO2 releases. Once bubbling slows, begin your main pour.
The bloom is also a freshness indicator. Vigorous bubbling signals freshly roasted beans; a flat, barely-reactive bloom signals stale coffee. No brewing technique fully compensates for oxidized beans. Because Cuppari Coffee roasts and ships orders the same day, beans arrive with peak CO2 content and bloom vigorously, stale shelf beans simply don't behave the same way.
Step-by-Step: How to Brew Perfect Pour Over Coffee
Total Time: 8-10 minutes Difficulty: Beginner to Intermediate What You'll Need: Pour over dripper, gooseneck kettle, burr grinder, scale, timer, paper filter, freshly roasted coffee beans
-
Heat your water to 195-205°F (or boil and rest 30-45 seconds). [Time: 3-5 minutes]
-
Rinse the paper filter by placing it in the dripper and pouring hot water through it. This removes papery taste compounds and pre-heats your vessel. Discard the rinse water. [Time: 30 seconds]
-
Grind your coffee to a medium-fine consistency (table salt texture). Dose 25g for a 400g (roughly 14oz) brew. [Time: 30 seconds]
-
Add ground coffee to the rinsed filter. Gently shake to level the coffee bed. Place on your scale and tare to zero.
-
Start your timer and begin the bloom. Pour 50g of water slowly in a circular motion, saturating all the grounds. Wait 30-45 seconds.
-
Begin the main pour at roughly 45 seconds. Pour in a slow, steady spiral from center to edge and back, keeping the water level consistent. Avoid pouring directly on the filter walls.
-
Complete your pour by the 2:00-2:30 mark, targeting a total water weight of 400g.
-
Allow draw-down to complete. The coffee bed should be flat and dry by 3:00-4:00 minutes total. If it runs longer, adjust grind coarser next time.
Expected Result: A clean, bright cup with clear tasting notes and no sediment.
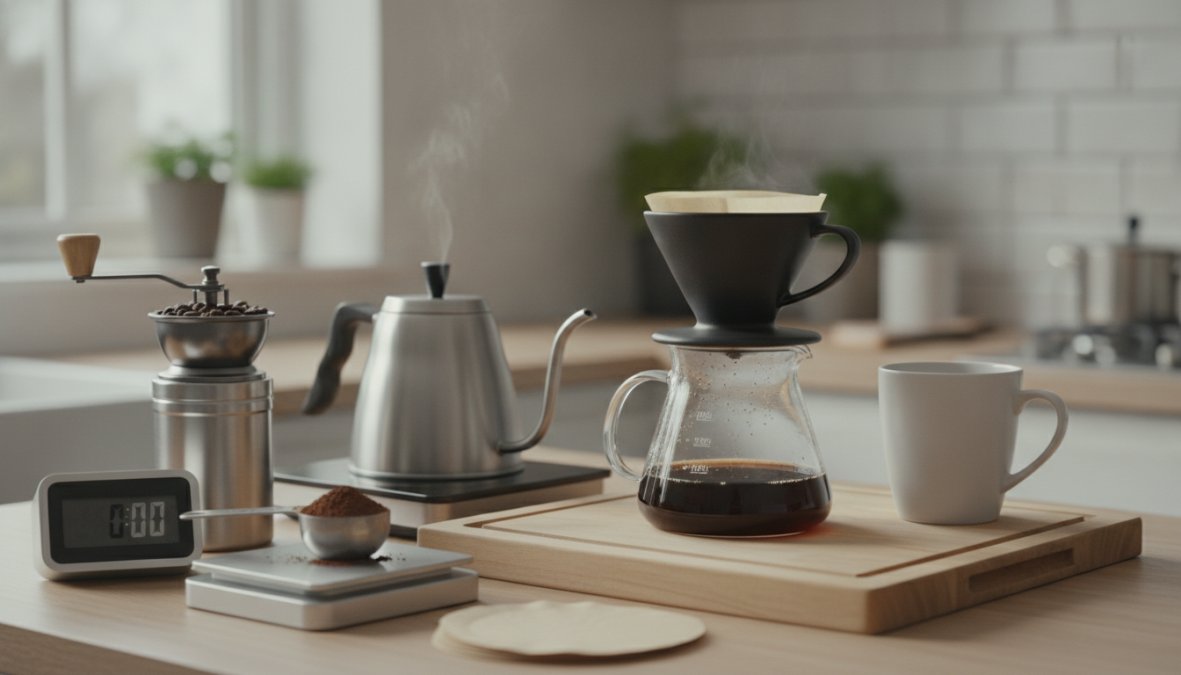
Pulse Pouring vs. Continuous Pouring: Which Technique Wins
This is one of the few areas where experienced brewers genuinely disagree, and the answer depends on what you're optimizing for.
Pulse pouring adds water in discrete intervals, typically 3-5 separate pours after the bloom. Each pause allows slurry temperature to stabilize and gives you control over agitation, tending to produce more body and sweetness. Continuous pouring maintains a constant, slow stream throughout the brew, producing a cleaner, brighter cup with more pronounced acidity, the approach the Hario V60 community largely favors.
Start with pulse pouring (3-4 pours after the bloom), it's more forgiving and gives you time to observe and adjust. Once comfortable, experiment with continuous pouring on lighter roasts where acidity and clarity are desirable.
Pour Over Coffee Brewing Time: What Draw-Down Tells You
Pour over coffee brewing time should fall between 3:00 and 4:00 minutes total, from first pour to the last drop clearing the filter. Draw-down time is your diagnostic tool.
A fast draw-down (under 2:30) means water passes through too quickly, grind too coarse, dose too low, or pour too aggressive, producing a thin, sour, or underdeveloped cup. A slow draw-down (over 4:30) means resistance is too high, grind too fine or a compacted bed, producing a bitter or astringent cup.
After draw-down completes, the bed should be flat and even. A cone-shaped depression in the center signals channeling, where water found a path of least resistance rather than saturating evenly, usually caused by uneven pouring or a disturbed coffee bed.
According to research on coffee extraction variables from the journal Food Chemistry, extraction yield and brew time have a direct relationship at fixed grind settings, confirming that draw-down time is a reliable proxy for extraction completeness.
Troubleshooting Your Cup: Fixing Bitterness, Acidity, and Weak Body
Your cup tells you exactly what went wrong. You just need to know how to read it.
Bitter, harsh, or astringent cup:
- Grind is too fine (most common cause)
- Water temperature too high
- Brew time too long (over-extraction)
- Fix: Coarsen grind by one step, or lower water temperature by 5°F
Sour, sharp, or underdeveloped cup:
- Grind is too coarse
- Water temperature too low
- Brew time too short (under-extraction)
- Fix: Tighten grind by one step, or increase water temperature
Weak, watery, or thin body:
- Coffee-to-water ratio too low
- Grind too coarse causing fast draw-down
- Fix: Increase dose (try 1:15 ratio) or tighten grind slightly
Flat, hollow, or no tasting notes:
- Stale coffee (most commonly overlooked cause)
- Very soft or distilled water
- Fix: Use fresher beans, check water mineral content
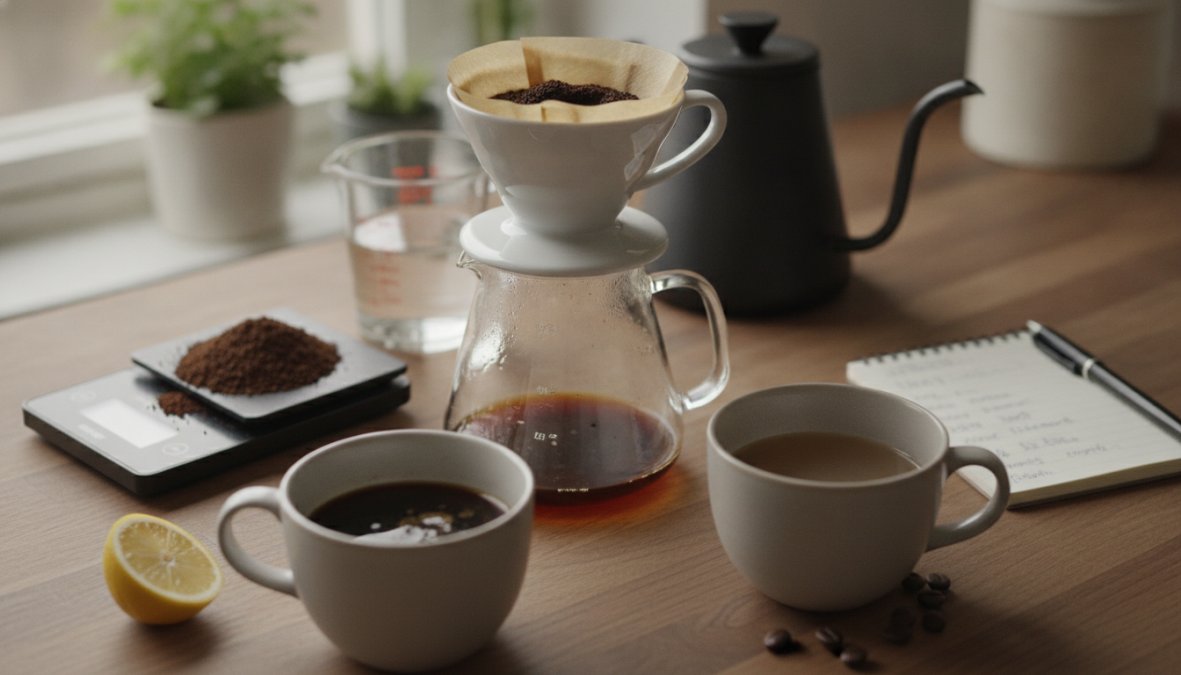
The stale coffee problem is worth emphasizing. Many brewers adjust grind, ratio, and temperature repeatedly when the actual issue is bean freshness. Coffee more than 3-4 weeks past roast date will taste flat regardless of technique.
Equipment Maintenance and Cleaning for Consistent Results
Coffee oils accumulate on every surface they touch, dripper, kettle, grinder burrs. Rancid oils taste bitter and musty, contaminating every subsequent brew. A practical maintenance schedule:
- After every brew: Rinse the dripper with hot water. Wipe the gooseneck kettle spout.
- Weekly: Wash the dripper with mild dish soap and hot water. Rinse thoroughly.
- Monthly: Run a cleaning cycle through your burr grinder using grinder cleaning tablets or dry rice (check manufacturer guidance). Brush out the burr chamber.
- Every 2-3 months: Descale your kettle if you're in a hard water area. Mineral deposits affect temperature accuracy and can flake into your brew.
The burr grinder deserves particular attention. Stale oils and fine particles accumulate between the burrs and in the exit chute, introducing off-flavors into fresh grounds. Many brewers notice significant improvement in cup clarity after their first thorough grinder cleaning.
According to the National Coffee Association's home brewing guidance, regular cleaning of coffee equipment is one of the most commonly overlooked factors in home brew quality. Always store beans in an airtight container away from light, heat, and moisture, once opened, use within 2-3 weeks for peak results.
The biggest obstacle to a consistently great cup is not technique, it's starting with stale, poorly sourced beans that no brewing skill can rescue. Cuppari Coffee roasts every order to order and ships the same day, so beans arrive at peak freshness with the CO2 content needed for a proper bloom and full flavor expression. With free shipping on all U.S. orders and a selection covering single origin, blends, and flavored coffees, there's no reason to compromise on the ingredient that matters most. Add to cart and taste the difference that genuinely fresh beans make.
Frequently Asked Questions
What is the best coffee-to-water ratio for pour over?
A commonly recommended starting point for pour over coffee is a 1:15 to 1:17 ratio, meaning 1 gram of coffee for every 15 to 17 grams of water. For a standard 12 oz (340 ml) brew, that works out to roughly 20-22 grams of coffee. Use a scale for accuracy, as volume measurements are inconsistent. Adjust the ratio based on your tasting notes: a stronger, denser cup calls for 1:15, while a lighter, more delicate brew suits 1:17.
How fine should I grind coffee for pour over?
The best coffee grind size for pour over is medium-fine, similar in texture to coarse table salt or slightly finer than standard drip. This grind size allows water to extract flavors evenly without over-extracting (which causes bitterness) or under-extracting (which causes sourness). A burr grinder is strongly recommended over a blade grinder because it produces consistent particle size, which directly improves extraction uniformity and the clarity of your tasting notes.
What is the bloom phase in pour over coffee, and why does it matter?
The bloom is an initial short pour, typically twice the weight of your coffee grounds in water, that saturates the coffee bed and allows trapped CO2 from freshly roasted beans to escape through degassing. This 30-45 second phase matters because CO2 repels water, and if you skip it, the gas creates uneven extraction and channeling. A healthy bloom produces a visible dome of bubbling grounds. Freshly roasted beans bloom more aggressively, which is a good sign of quality.
Why does my pour over coffee taste bitter?
Bitterness in pour over coffee is usually a sign of over-extraction. Common causes include a grind that is too fine, water that is too hot (above 205°F), brew time that runs too long, or excessive agitation that breaks up the coffee bed unevenly. To fix it, try coarsening your grind slightly, lowering your water temperature to around 200°F, or shortening your total brew time. Checking your draw-down time is a reliable diagnostic, if it exceeds 4 minutes, your grind is likely too fine.
Do I need a gooseneck kettle to brew pour over coffee?
While you can technically brew pour over coffee without one, a gooseneck kettle makes a meaningful difference in control and consistency. Its narrow, curved spout lets you pour in a slow, precise spiral directly onto the coffee bed, which ensures even saturation and reduces channeling. Standard kettles pour too fast and too wide, making it difficult to maintain a steady flow rate. For anyone serious about improving their manual brew results, a gooseneck kettle is one of the highest-impact equipment upgrades available.
How long should pour over coffee take to brew?
Total pour over coffee brewing time typically falls between 3 and 4 minutes from the start of the bloom to the final draw-down. The bloom itself takes 30-45 seconds, with the remaining pours completing within the 3-4 minute window. If your brew finishes in under 2.5 minutes, your grind may be too coarse, leading to under-extraction and sour or weak flavors. If it drags past 4.5 minutes, the grind is likely too fine, risking over-extraction and bitterness.
This article was written using GrandRanker